Exploring ROS2 with a wheeled robot – #4 – Obstacle avoidance

By Marco Arruda

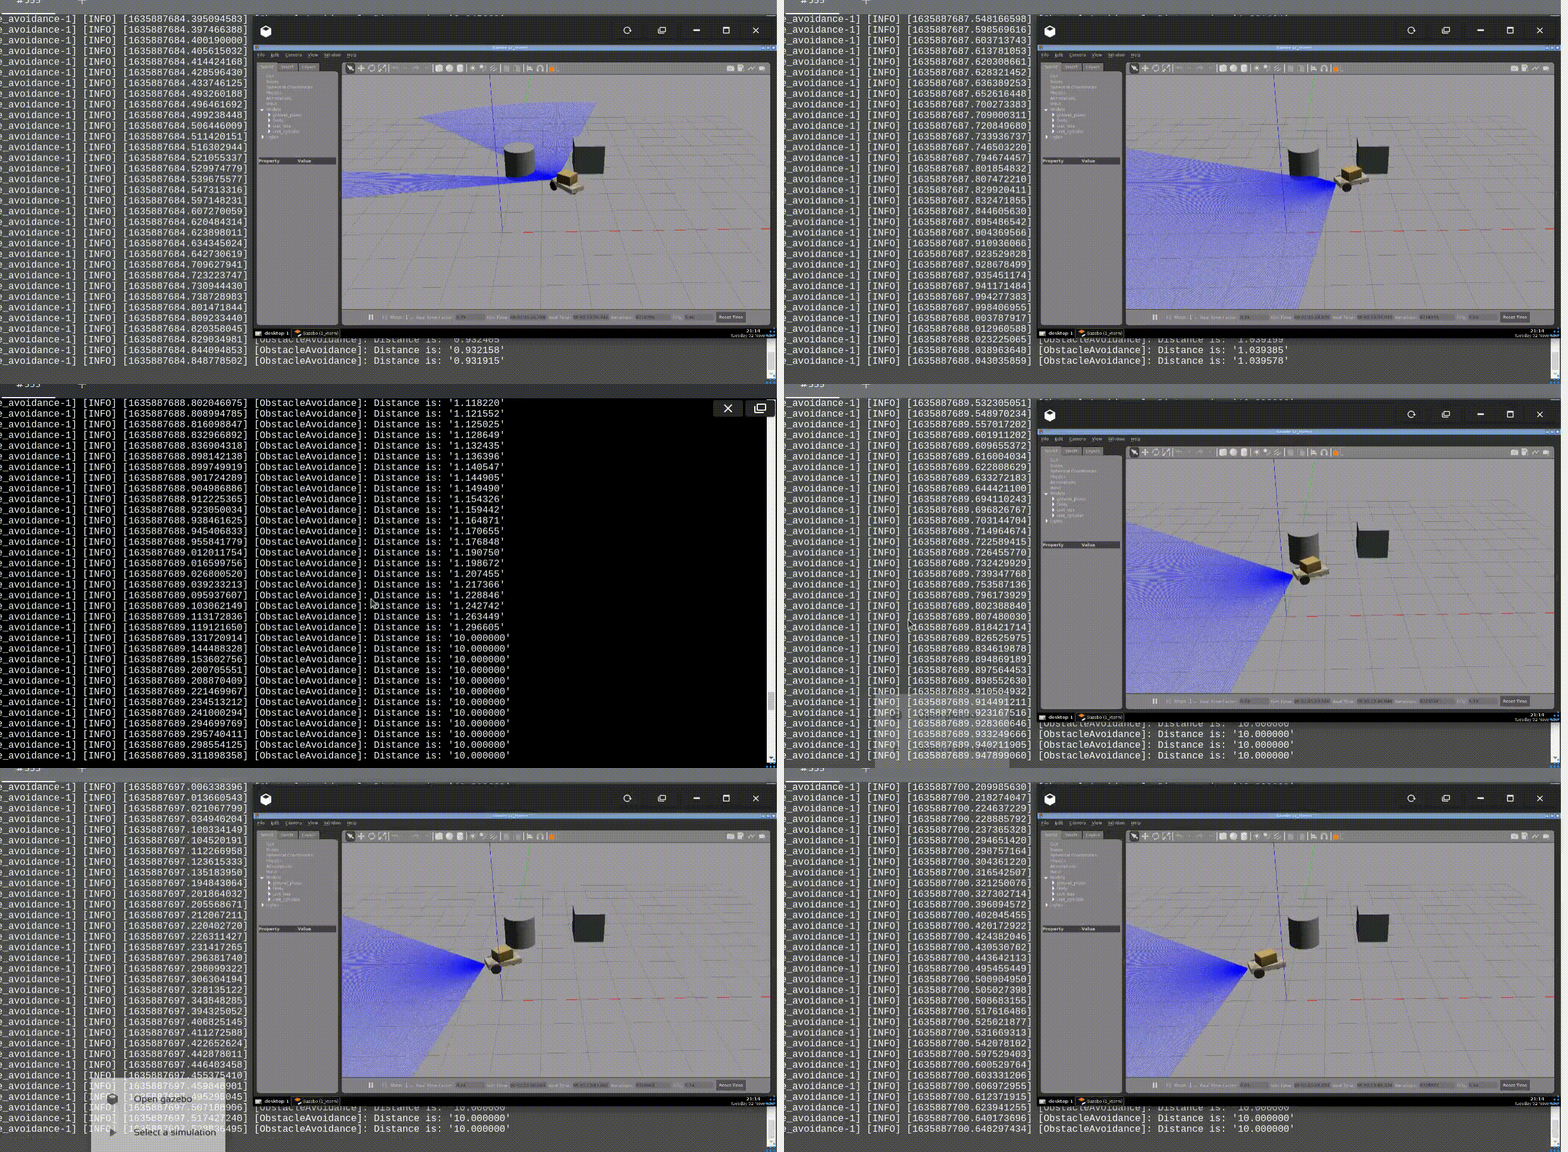
In this post you’ll learn how to program a robot to avoid obstacles using ROS2 and C++. Up to the end of the post, the Dolly robot moves autonomously in a scene with many obstacles, simulated using Gazebo 11.

You’ll learn:

  • How to publish AND subscribe topics in the same ROS2 Node
  • How to avoid obstacles
  • How to implement your own algorithm in ROS2 and C++

1 – Setup environment – Launch simulation

Before anything else, make sure you have the rosject from the previous post, you can copy it from here.

Launch the simulation in one webshell and in a different tab, checkout the topics we have available. You must get something similar to the image below:

2 – Create the node

In order to have our obstacle avoidance algorithm, let’s create a new executable in the file ~/ros2_ws/src/my_package/obstacle_avoidance.cpp:

#include "geometry_msgs/msg/twist.hpp"    // Twist
#include "rclcpp/rclcpp.hpp"              // ROS Core Libraries
#include "sensor_msgs/msg/laser_scan.hpp" // Laser Scan

using std::placeholders::_1;

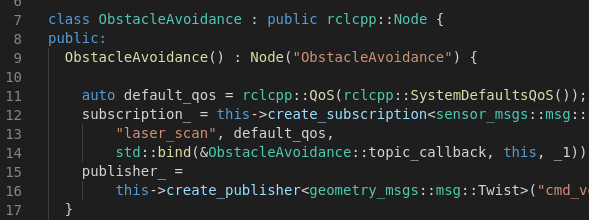
class ObstacleAvoidance : public rclcpp::Node {
public:
  ObstacleAvoidance() : Node("ObstacleAvoidance") {

    auto default_qos = rclcpp::QoS(rclcpp::SystemDefaultsQoS());
    subscription_ = this->create_subscription(
        "laser_scan", default_qos,
        std::bind(&ObstacleAvoidance::topic_callback, this, _1));
    publisher_ =
        this->create_publisher("cmd_vel", 10);
  }

private:
  void topic_callback(const sensor_msgs::msg::LaserScan::SharedPtr _msg) {
    // 200 readings, from right to left, from -57 to 57 degress
    // calculate new velocity cmd
    float min = 10;
    for (int i = 0; i < 200; i++) { float current = _msg->ranges[i];
      if (current < min) { min = current; } } 
    auto message = this->calculateVelMsg(min);
    publisher_->publish(message);
  }
  geometry_msgs::msg::Twist calculateVelMsg(float distance) {
    auto msg = geometry_msgs::msg::Twist();
    // logic
    RCLCPP_INFO(this->get_logger(), "Distance is: '%f'", distance);
    if (distance < 1) {
      // turn around
      msg.linear.x = 0;
      msg.angular.z = 0.3;
    } else {
      // go straight ahead
      msg.linear.x = 0.3;
      msg.angular.z = 0;
    }
    return msg;
  }
  rclcpp::Publisher::SharedPtr publisher_;
  rclcpp::Subscription::SharedPtr subscription_;
};

int main(int argc, char *argv[]) {
  rclcpp::init(argc, argv);
  rclcpp::spin(std::make_shared());
  rclcpp::shutdown();
  return 0;
}

In the main function we have:

  • Initialize node rclcpp::init
  • Keep it running rclcpp::spin

Inside the class constructor:

  • Subcribe to the laser scan messages: subscription_
  • Publish to the robot diff driver: publisher_

The obstacle avoidance intelligence goes inside the method calculateVelMsg. This is where decisions are made based on the laser readings. Notice that is depends purely on the minimum distance read from the message.

If you want to customize it, for example, consider only the readings in front of the robot, or even check if it is better to turn left or right, this is the place you need to work on! Remember to adjust the parameters, because the way it is, only the minimum value comes to this method.

3 – Compile the node

This executable depends on both geometry_msgs and sensor_msgs, that we have added in the two previous posts of this series. Make sure you have them at the beginning of the ~/ros2_ws/src/my_package/CMakeLists.txt file:

# find dependencies
find_package(ament_cmake REQUIRED)
find_package(rclcpp REQUIRED)
find_package(geometry_msgs REQUIRED)
find_package(sensor_msgs REQUIRED)

And finally, add the executable and install it:

# obstacle avoidance
add_executable(obstacle_avoidance src/obstacle_avoidance.cpp)
ament_target_dependencies(obstacle_avoidance rclcpp sensor_msgs geometry_msgs)

...

install(TARGETS
  reading_laser
  moving_robot
  obstacle_avoidance
  DESTINATION lib/${PROJECT_NAME}/
)

Compile the package:
colcon build --symlink-install --packages-select my_package

4 – Run the node

In order to run, use the following command:
ros2 run my_package obstacle_avoidance

It will not work for this robot! Why is that? We are subscribing and publishing to generic topics: cmd_vel and laser_scan.

We need a launch file to remap these topics, let’s create one at ~/ros2_ws/src/my_package/launch/obstacle_avoidance.launch.py:

from launch import LaunchDescription
from launch_ros.actions import Node

def generate_launch_description():

    obstacle_avoidance = Node(
        package='my_package',
        executable='obstacle_avoidance',
        output='screen',
        remappings=[
            ('laser_scan', '/dolly/laser_scan'),
            ('cmd_vel', '/dolly/cmd_vel'),
        ]
    )

    return LaunchDescription([obstacle_avoidance])

Recompile the package, source the workspace once more and launch it:
colcon build --symlink-install --packages-select my_package
source ~/ros2_ws/install/setup.bash
ros2 launch my_package obstacle_avoidance.launch.py
Related courses & extra links:

The post Exploring ROS2 with a wheeled robot – #4 – Obstacle Avoidance appeared first on The Construct.

Exploring ROS2 using wheeled Robot – #3 – Moving the robot

By Marco Arruda

In this post you’ll learn how to publish to a ROS2 topic using ROS2 C++. Up to the end of the video, we are moving the robot Dolly robot, simulated using Gazebo 11.

You’ll learn:

  • How to create a node with ROS2 and C++
  • How to public to a topic with ROS2 and C++

1 – Setup environment – Launch simulation

Before anything else, make sure you have the rosject from the previous post, you can copy it from here.

Launch the simulation in one webshell and in a different tab, checkout the topics we have available. You must get something similar to the image below:

2 – Create a topic publisher

Create a new file to container the publisher node: moving_robot.cpp and paste the following content:

#include <chrono>
#include <functional>
#include <memory>

#include "rclcpp/rclcpp.hpp"
#include "geometry_msgs/msg/twist.hpp"

using namespace std::chrono_literals;

/* This example creates a subclass of Node and uses std::bind() to register a
 * member function as a callback from the timer. */

class MovingRobot : public rclcpp::Node {
public:
  MovingRobot() : Node("moving_robot"), count_(0) {
    publisher_ =
        this->create_publisher("/dolly/cmd_vel", 10);
    timer_ = this->create_wall_timer(
        500ms, std::bind(&MovingRobot::timer_callback, this));
  }

private:
  void timer_callback() {
    auto message = geometry_msgs::msg::Twist();
    message.linear.x = 0.5;
    message.angular.z = 0.3;
    RCLCPP_INFO(this->get_logger(), "Publishing: '%f.2' and %f.2",
                message.linear.x, message.angular.z);
    publisher_->publish(message);
  }
  rclcpp::TimerBase::SharedPtr timer_;
  rclcpp::Publisher::SharedPtr publisher_;
  size_t count_;
};

int main(int argc, char *argv[]) {
  rclcpp::init(argc, argv);
  rclcpp::spin(std::make_shared());
  rclcpp::shutdown();
  return 0;
}QoS (Quality of Service)

Similar to the subscriber it is created a class that inherits Node. A publisher_ is setup and also a callback, although this time is not a callback that receives messages, but a timer_callback called in a frequency defined by the timer_ variable. This callback is used to publish messages to the robot.

The create_publisher method needs two arguments:

  • topic name
  • QoS (Quality of Service) – This is the policy of data saved in the queue. You can make use of different middlewares or even use some provided by default. We are just setting up a queue of 10. By default, it keeps the last 10 messages sent to the topic.

The message published must be created using the class imported:

message = geometry_msgs::msg::Twist();

We ensure the callback methods on the subscribers side will always recognize the message. This is the way it has to be published by using the publisher method publish.

3 – Compile and run the node

In order to compile we need to adjust some things in the ~/ros2_ws/src/my_package/CMakeLists.txt. So add the following to the file:

  • Add the geometry_msgs dependency
  • Append the executable moving_robot
  • Add install instruction for moving_robot
find_package(geometry_msgs REQUIRED)
...
# moving robot
add_executable(moving_robot src/moving_robot.cpp)
ament_target_dependencies(moving_robot rclcpp geometry_msgs)
...
install(TARGETS
  moving_robot
  reading_laser
  DESTINATION lib/${PROJECT_NAME}/
)

We can run the node like below:

source ~/ros2_ws/install/setup.bash
ros2 run my_package

Related courses & extra links:

The post Exploring ROS2 using wheeled Robot – #3 – Moving the Robot
appeared first on The Construct.